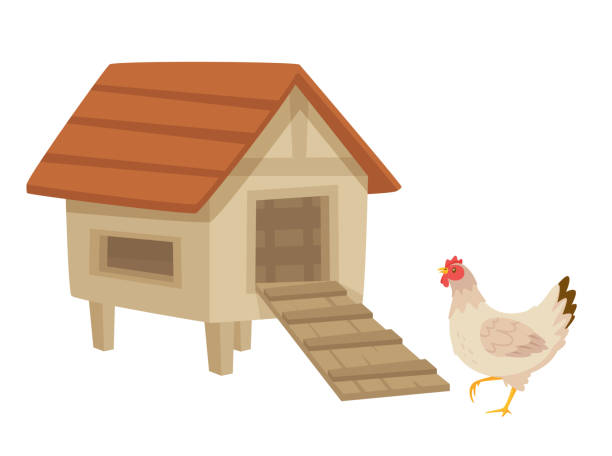
1) DON’T GIVE THEM ANYTHING TO POOP ON A large part of the work required in keeping backyard chickens is keeping the chicken coop clean.
However, this is easier said than done.
Even with the deep litter approach, I still spend a lot of time cleaning my coop – but you can drastically minimize the amount of cleaning if you don’t give your birds anything additional to poop on – this is the best chicken coop design tip I can give you.
Let me say it again.
DO. NOT. PROVIDE. YOUR. BIRDS. WITH. ANYTHING. TO. POOP. ON.
Because they will absolutely poop on anything and anything.
Yes, the feeder. Of course, inside the waterer. Definitely the stairs leading up to the chicken coop. They will poop on whatever they can climb on (or stand on).
You can limit the amount of poopable surface area by doing the following:
Suspend their feeder so that it swings (they seem to not like jumping on things that swing)
Instead of making that charming ladder to get to their nesting boxes, raise the nesting boxes a foot or two off the ground.
Anything additional inside the coop should have a sloped top to prevent them from standing on it.
Make an automatic waterer out of these chicken nipples to keep them from drinking contaminated water.
Trust me on this one; you’ll be glad you did!
2) KEEP CLEANING TOOLS CLOSE AT HAND
While we’re on the subject of keeping the coop clean, keep your tools close to the coop.
I used to haul my rake to the coop, then back to the garage, and back again.
After a while, I hung a little hook on the outside of the coop, allowing me to hang the rake directly on the coop.
Not only is it simpler to access now, but I also remember to rake the chicken coop bedding around more frequently!
Keeping your tools close by will save you a lot of time and trouble, plus it just makes sense!
3) SAFEGUARD ALL THE WOOD
I made the mistake of utilizing untreated, unprotected wood within our first coop.
What I should have done was cover the bottom of the coop (not the run) with vinyl flooring or something that wouldn’t absorb all the droppings, excess water, rain, and so on.
Because nothing is more aggravating than attempting to clean untreated wood that has been saturated in rains and chicken droppings!
Even if your coop is entirely covered, mildew develops and humidity begins to destroy the wood!
To keep the wood from decaying, either add a layer of waterproof flooring or paint it (with non-toxic paint, of course)!
And I absolutely intend to reduce the number of wood surfaces in our next chicken coop to help remove this problem entirely!
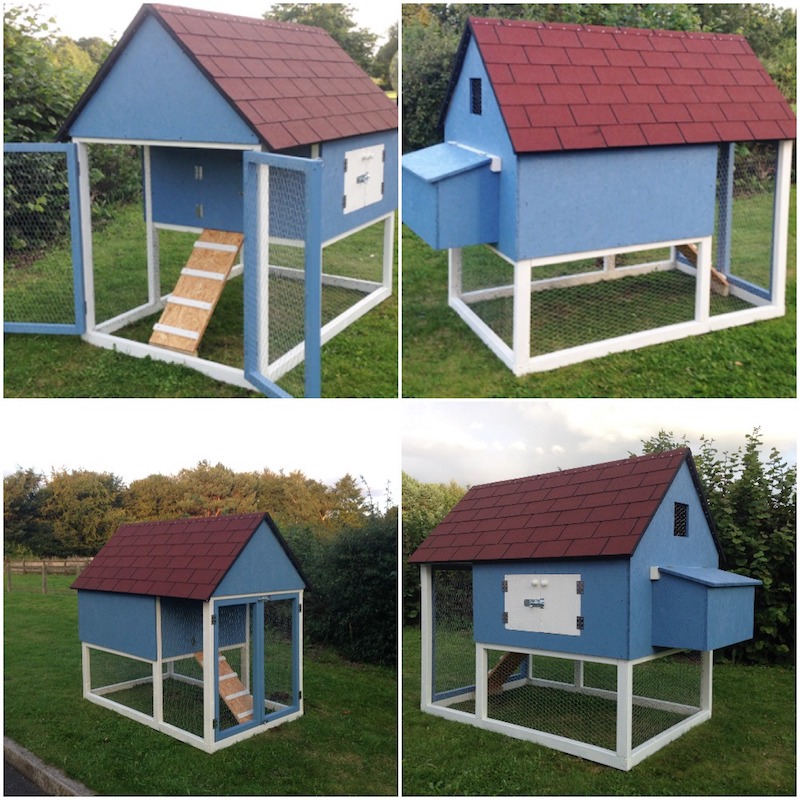
4) PURCHASE AN EXTRA LARGE FEEDER
This chicken coop design advice is straightforward – but not usually obvious!
The smaller the chicken feeder, the more frequently you must refill it. And the more work you wind up doing lugging chicken feed back and forth.
In fact, we’ve gone through multiple chicken feeders only for that purpose.
We now have a garbage can with a rounded lid so they couldn’t stand on it!
Simply purchase these no-waste feeders, drill holes in the garbage can, then screw the feeders to the side!
I set it up in less than 10 minutes and can fit nearly 100 pounds of chicken feed inside. (You can watch the entire video here.)
That means I just have to restock their food once a month!
I mean, if that isn’t efficiency, I’m not sure what is!
Don’t get me wrong: we didn’t start with this approach; we started with a modest 15-pound feeder, then moved on to a tote bucket feeder, and now we have our massive trash bin feeder.
So, take a lesson from my blunders and save yourself a headache!
5) INSTALL A RAINWATERING SYSTEM AND AN AUTOMATIC WATERER
Then it’s on to the chicken waterer.
This is a similar concept: offer them a lot of water with little effort on your part!
We purchased a 55-gallon rain barrel and attached a spigot to it. Then, on the side of the coop, a gutter was installed to collect rainwater.
This runs into the rain barrel, which is connected to a hose that supplies water into the coop.
Using these poultry nipples also keeps the hens from splashing water everywhere and turning the run into a mud mess!
We practically never have to worry about their water because of this arrangement; of course, we still check it every now and then to make sure it’s full, and we refill it when it doesn’t rain as much.
6) PROVIDE THEM WITH A SPECIAL PLACE TO REST.
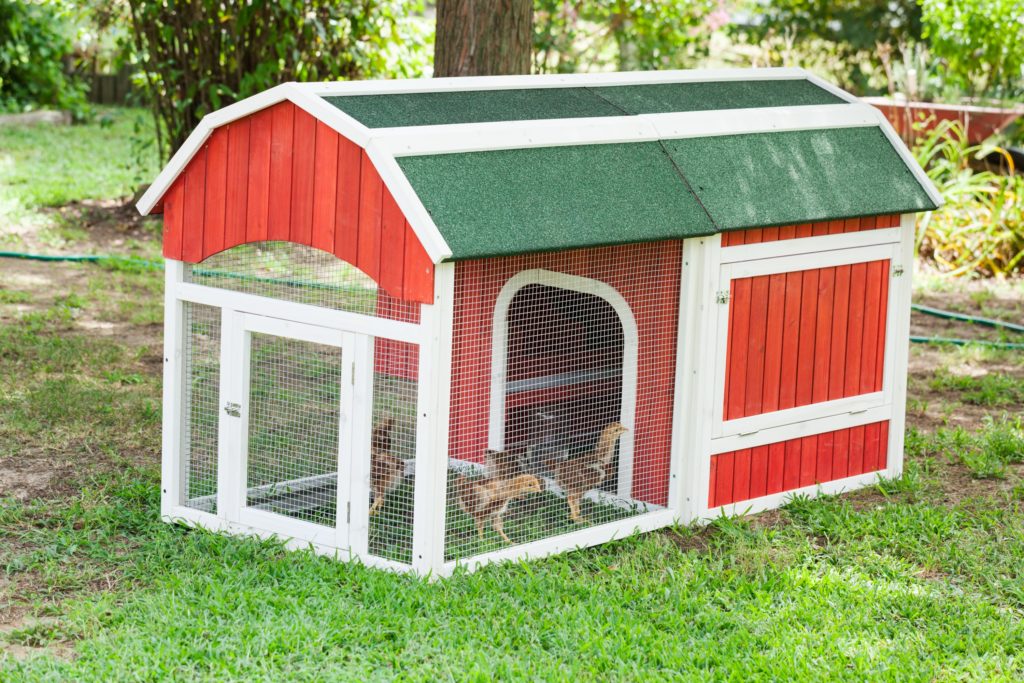
Chickens will roost wherever they can find the tallest point.
That was the specific roosts we built to the interior of the coop for them in our coop, or so we thought.
We walked out to the coop after dark one night and saw that they were all propped up on top of the coop itself!
We’re not concerned about predators because the coop is still enclosed within the run.
But we did note that because they roost on top of the coop, their droppings end up all over the sides sigh.
Believe me when I say that we had to learn the hard way!
It helps to provide chickens unique spaces to do their job – specific nesting areas, specific roosting areas, and specific poop areas!
7) ENOUGH VENTILATION
Giving your birds enough of airflow is critical for their health – and to keep the coop from stinking!
However, whatever quantity of ventilation you believe is adequate, double it!
We actually went back and added more ventilation to the coop’s walls – you’d be amazed how much stench accumulates in there, especially since most coops are constructed of wood.
As your chickens spend more time in there, the wood absorbs odors, and one of the most effective methods to air it out is to simply provide more ventilation than you believe they require.
Remember to always cover the ventilation with hardware cloth to keep predators out!
8) SAFEGUARD ANY PLANTS IN THE COOP
I saw this post on Pinterest a while back about all the different types of plants you can grow within your chicken run.
So, being the astute chicken keeper that I thought I was, I began frantically growing herbs to plant within the run.
The little raptors destroyed those herbs around 2.5 milliseconds after I planted them.
And I mean completely wrecked.
Everything was vanished, including the leaves, herbs, and even some of the earth!
So now, when I plant my chicken herbs inside the run, I wrap some chicken wire around the base of the plant so they can only eat the leaves and not the roots.
And maybe even wait till the plant is a little more established before putting it up against your chickens!
9) ATTACH A GOOD LATCH TO THE COOP
When I originally got my ladies, they were afraid of me, but that quickly changed.
They now race to the door and try to escape between my legs like the small raptors they are everytime I go to collect my eggs or clean up the coop!
And that’s typically not a problem because we let them roam free when we’re performing yard chores. But, since we won’t be around for a while, we attempt to keep them in their coop.
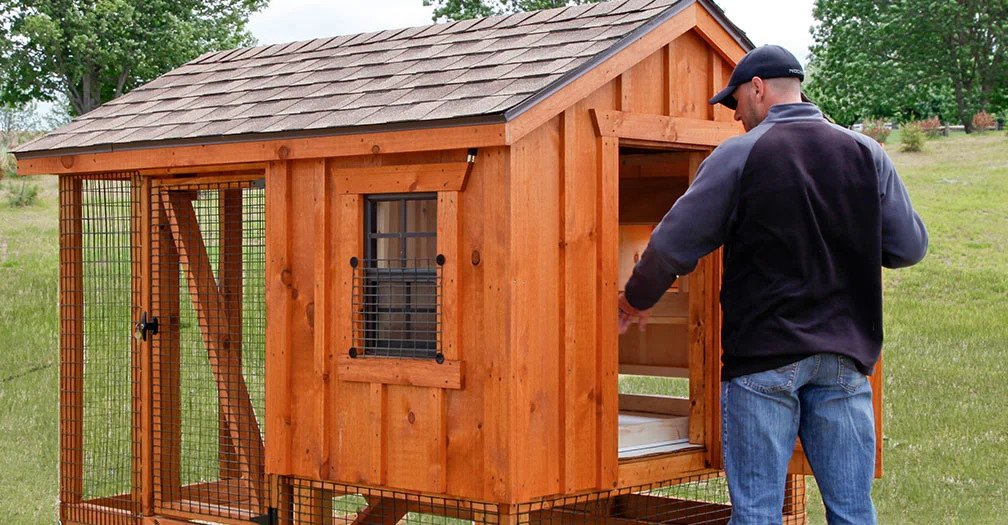
So one day when I went into the coop to collect eggs for the day, I may have not closed the latch properly – or perhaps the latch was simply cheap.
But, in any case, as I turned around, all of my chickens were running around the yard! They surged right through the door, and believe me, herding hens is no simple chore!
So, for a few bucks more, we updated to a better latch to save the headache of chasing our chickens around the yard and appearing insane!
10) RESTRICTIONS ON NESTING BOXES
I used to get so excited looking at all these lovely chicken coop designs and nesting box ideas when we were building our first coop. I wanted to provide the greatest possible environment for my hens to lay their eggs.
As a result, I ended up creating roughly six nesting boxes for my ten hens.
But, as I rapidly discovered, you don’t need that many boxes.
Hens enjoy sharing nesting boxes! And I frequently discover 10 eggs in one carton and none in the others.
A fair rule of thumb is one nesting box for every 3-4 chickens.
So, after redesigning our coop, we now have three nesting boxes for ten chickens, which appears to be the ideal number!
11) LEAVE NO SPACE FOR STANDING WATER
As I mentioned earlier, you should not provide them any space to stand/poop on…
Leave no space for water to collect.
This not only creates a breeding area for mosquitos, but it also creates a breeding ground for diseases!
Your chickens will see this water and drink from it, which is a significant concern because it is likely to be contaminated with chicken feces, filth, and bacteria!
Indeed, allowing the coop to become overly wet and having standing water in the coop is how my hens had coccidiosis immediately after we brought them home! Such a beginner error, and one I hope you never have to face!
So make sure to cover all of your chickens’ drinking water, add additional bedding when it rains, and give a dry space for them!
12) RUN AND COVER THE COOP
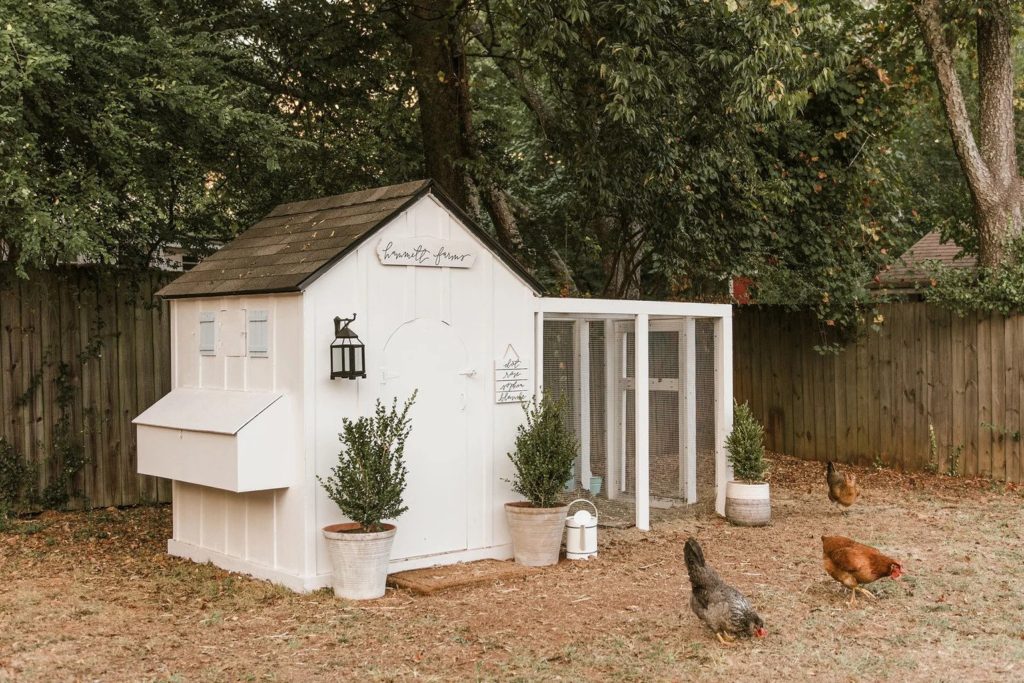
Initially, we intended to cover only half of the chicken run. However, after discussing chicken coop designs with a few other chicken owners, we opted to cover the entire run.
We did this for a number of reasons.
For starters, we live in Florida, where it gets really hot.
With a roof covering the entire run, our chickens have plenty of space to roam without being concerned about the heat.
The roofing did cost a little more, but it was well worth it in my opinion!
Second, it rains a lot here in practically every season, and especially more in the summer. A roof on both the coop and the run also helps to keep damp and water out of the coop.
As previously said, this aids in illness prevention!
So, if you’re wondering whether you should cover the coop and flee, my response is definitely! Definitely include both!
WHICH WAY SHOULD A CHICKEN COOP FACE?
If you live in a colder climate, you should orient your coop south to take use of as much sunlight as possible. This will provide your hens with additional sunlight, allowing them to lay for extended periods of time throughout the winter!
If you live in a location where plenty of sunlight isn’t an issue, focus on locating your coop in a high, dry area that won’t collect water when it rains and provides plenty of shade throughout the day!
Want building plans to make the best Chicken Coop you can for your Hens? Want to save huge amounts of money making your own coop? It’s easier than you think! Click Here to Check out the plans

